- Tech Savvy Mag
- Battery and Care
- When to change the 9V battery in a smoke alarm
When to change the 9V battery in a smoke alarm
Find out exactly when to change the 9V battery in a smoke alarm and learn the correct way to test your device to keep your home safe.
Explained by Barrett Ashworth
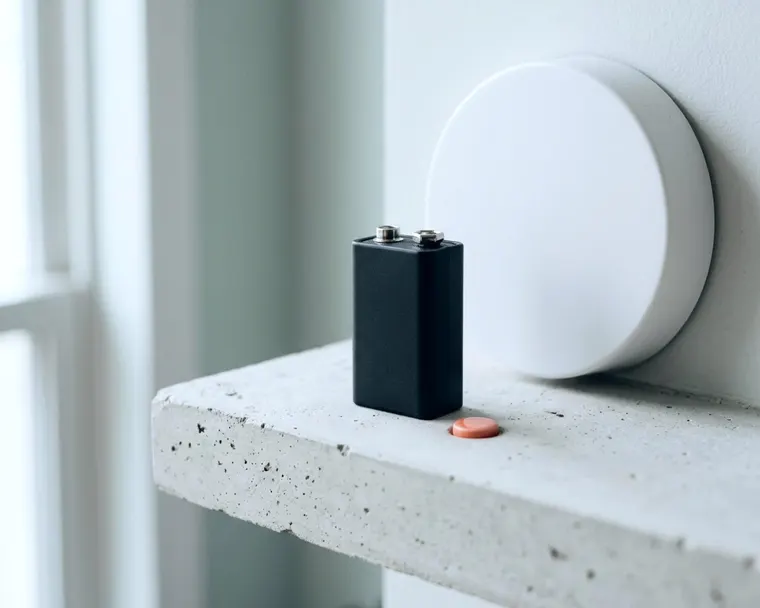
You should replace the 9V battery in a standard smoke alarm at least once a year. A low battery can cause the alarm to chirp. Swapping it out before that sound starts keeps the device ready to detect smoke.
How often a smoke alarm battery needs replacing
Standard smoke detectors rely on a 9V battery to power their sensors and siren. The US Consumer Product Safety Commission says batteries in alarms should be replaced at least once each year unless the alarms have sealed 10-year batteries.
A fresh battery makes sure the alarm has enough power to wake you up. As the battery drains, the voltage drops. Once the power falls below a certain level, the alarm sounds a short beep. That noise repeats to warn you.
That piercing chirp tells you the battery is almost dead. You can avoid the noise by picking a set date. Put a new battery in every alarm in your house on that same day. Many people pick a memorable day in the fall or spring to do the job.
Alkaline versus lithium batteries for alarms
When you buy a replacement power source, you will see a few different chemical makeups. A standard 9V alkaline battery is the most common choice for a smoke detector. Alkaline batteries provide a steady stream of power. Follow the yearly replacement schedule rather than waiting for the chirp.
You might also spot 9V lithium batteries on the store shelf. These look identical to alkaline models and snap into the same alarms, but they may hold their charge longer. Check the alarm's manual for which battery types it accepts.
Never use a battery type that the alarm's manual does not list. Check the manual for approved types, and be cautious with packaging labeled heavy-duty or general purpose.
How hardwired alarms use backup batteries
Many modern homes have smoke alarms wired directly into the household electrical system. A dedicated circuit supplies constant power to the devices. These alarms also communicate with each other through a traveler wire. If one detects smoke, every alarm in the house sounds its siren.
Even with a direct connection to your electrical panel, hardwired alarms still require a 9V battery. The battery serves as an emergency backup. If a severe storm knocks out the power to your neighborhood, the alarms switch over. They rely on battery power to keep your home protected.
Because the battery only works during a power outage, it may drain more slowly. However, the chemical cells inside still degrade over time. You must follow the same replacement schedule. Put a fresh 9V battery in every hardwired alarm at least once a year.
When a hardwired alarm chirps to signal a low battery, replacing the power source usually fixes it. If the chirping continues, check the manual, and ask a licensed electrician before working on the wiring or breaker.
Test the alarm every month
Putting a fresh battery in your alarm is only part of the job. You also need to make sure the internal sensors and the loud siren actually function. The CPSC says to check smoke and carbon monoxide alarms monthly to make sure they are working. A simple test takes just a few seconds per device.
Find the test button on the front cover of the alarm. Press and hold the button until the alarm sounds. The siren will be very loud. You might want to wear ear protection or stand a few feet back.
The alarm should sound a loud alert. Patterns vary by model, so check the manual for what a healthy test sounds like.
If the alarm stays quiet or the sound is very faint, the battery might be dead. Take the alarm down and check the battery connections. If a fresh battery does not fix a silent alarm, the device is broken. You must replace a broken device immediately.
Keep the sensors clean
Dust and cobwebs can block the small vents on the outside of the alarm. When those vents get clogged, smoke cannot reach the sensors inside. Grab a vacuum with a soft brush attachment. Gently clean the outside of the alarm during your monthly test.
You can also wipe the cover with a clean microfiber cloth. Never use water or liquid cleaning sprays on the plastic casing. Moisture can damage the sensitive electronics inside.
Swap the battery step by step
Changing a 9V battery requires a few basic steps. Most alarms are mounted on the ceiling or high on a wall. Use a sturdy step stool or a small ladder to reach the device safely.
- Twist the alarm counterclockwise to release it from the mounting bracket on the ceiling.
- Look for the battery compartment door on the back or side of the unit and open it.
- Pull the old battery out of the slot and unclip the plastic connector from the top.
- Snap the connector onto the new 9V battery and slide it back into the compartment.
- Close the battery door and twist the alarm clockwise onto the ceiling bracket until it clicks.
The two snap connectors on a 9V battery are different sizes. The smaller circle is the positive terminal. The wider hexagon shape is the negative terminal.
The plastic clip inside the smoke alarm matches that shape. The battery only snaps on one way. Do not force the clip if it feels stuck. Turn the battery around and try again.
Always press the test button after you put the alarm back on the ceiling. That proves the new battery is seated properly and doing its job.
What to do when a new battery still chirps
Sometimes you put a brand new 9V alkaline battery into your alarm, but the device continues to chirp. This frustrating problem usually comes down to a simple error or a small glitch.
First, check the battery door. Many smoke alarms have a small safety switch inside the battery compartment that stays open if the plastic door is not closed completely. The alarm assumes the battery is missing. Make sure the battery is pushed down and the door clicks shut tightly.
Next, check the battery connections. A 9V battery snaps onto a plastic clip with two metal terminals, and one might sit loosely if you do not press hard enough. Pull the battery off and snap it back on to check that both sides are seated firmly.
If the door is shut and the connections are tight, the alarm might need a reset. Take the alarm off the ceiling, remove the battery, and follow the reset steps in the manual. Put the new battery back in and close the door, which may stop the chirping.
Why a sealed ten-year alarm is different
You do not have to buy loose batteries for every smoke detector on the market. Hardware stores sell newer models designed to run on a built-in power source.
These models use a sealed 10-year battery. You cannot open the battery compartment, and you never have to swap out a dead battery. The device runs on its original power source until it reaches the end of its lifespan.
A low battery chirp from a sealed unit usually means the internal battery is dying. Check the manual and plan to replace the entire alarm.
These sealed units still require a monthly test. The internal battery might have power, but the smoke sensors can still fail. Dust and age affect every detector over the years.
When the whole alarm is too old
Every smoke alarm has an expiration date. The chemical and photoelectric sensors inside the plastic casing slowly degrade over time. After a decade of constant exposure to the air in your home, those sensors lose their sensitivity.
The CPSC says to replace a smoke alarm that is more than 10 years old. That rule applies to hardwired alarms, standard battery models and sealed ten-year units.
You can find the manufacturing date stamped on the back of the alarm. Twist the device off its ceiling bracket to see the label. Look for a small sticker or a stamped date code. This label lists the year and month the factory built the device.
If the date on the back is more than ten years ago, replace the alarm. If the label is missing or you cannot read the faded ink, assume the alarm is too old.
Store and dispose of old 9V batteries safely
A 9V battery carries both the positive and negative terminals on the same end. This design makes the battery easy to snap into a smoke alarm. It also creates a fire hazard in your trash can or junk drawer.
If a metal object touches both terminals at the same time, it creates a short circuit. The battery pushes its remaining energy through the metal. The metal can heat up. A loose coin, a paperclip or a piece of steel wool can create a fire risk.
Always cover the terminals before you store or throw away a 9V battery. Tear off a piece of electrical tape or heavy packing tape and wrap it over the top. The tape blocks the metal contacts and prevents a short circuit. If you want to check the charge before tossing one, learn how to test the voltage first.
Check your local rules for disposing of household batteries, because rules vary by area and some places collect them separately. If you use the longer lasting lithium 9V options, make sure you know how to discard lithium batteries safely.